It is irritating, isn’t it? You travel across Southeast Asia to behold the breathtaking views before you, trudge rough terrain, deep streams, windy deserts, and the view you are met with is so beautiful and awe-inspiring, and you whip out your trustworthy camera to click that once in a lifetime photo. But when you look down at your photo, expecting the National Geographic worthy snapshot you crave, you feel, well, a tad let down.
Photography is all about the right moment being frozen forever inside that tiny box, for good. But as it goes, there are very few moments you can actually capture at the right time, so you need to be prepared for the perfect click.
Fortunately for you, we have a comprehensive landscape photography guide for you, including a few techniques, tricks, and tips on how you can do that.
Table of Contents
Where to go, what to bring, and how to capture the perfect shot!
Let’s begin, shall we?
1. For the Mountaineer:
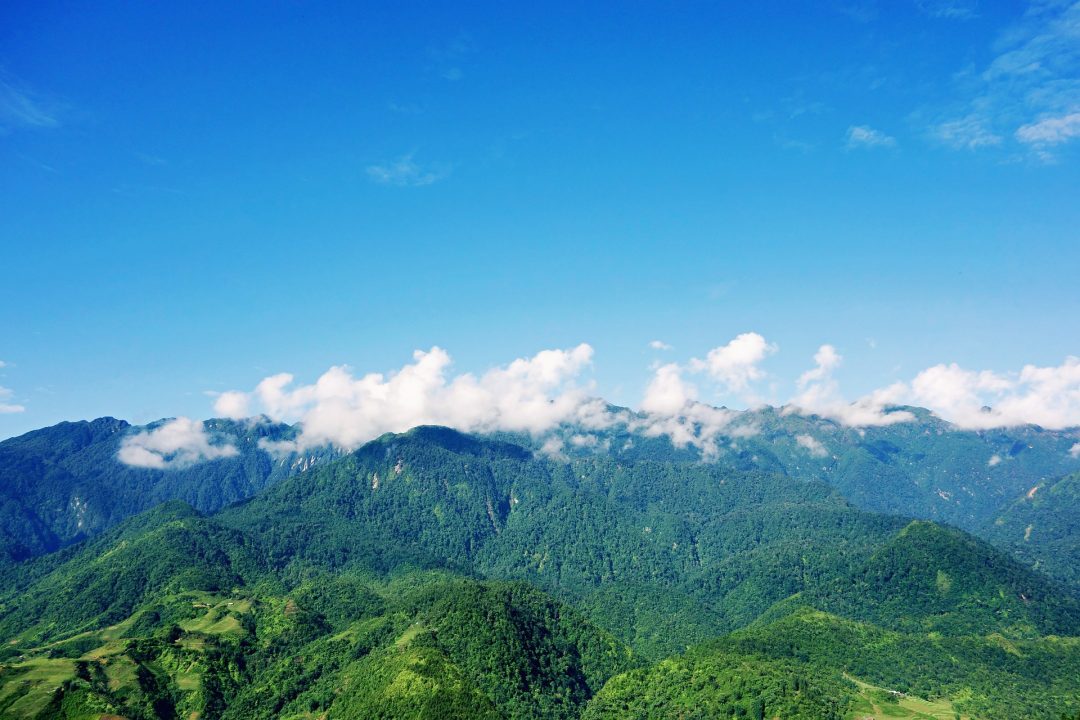
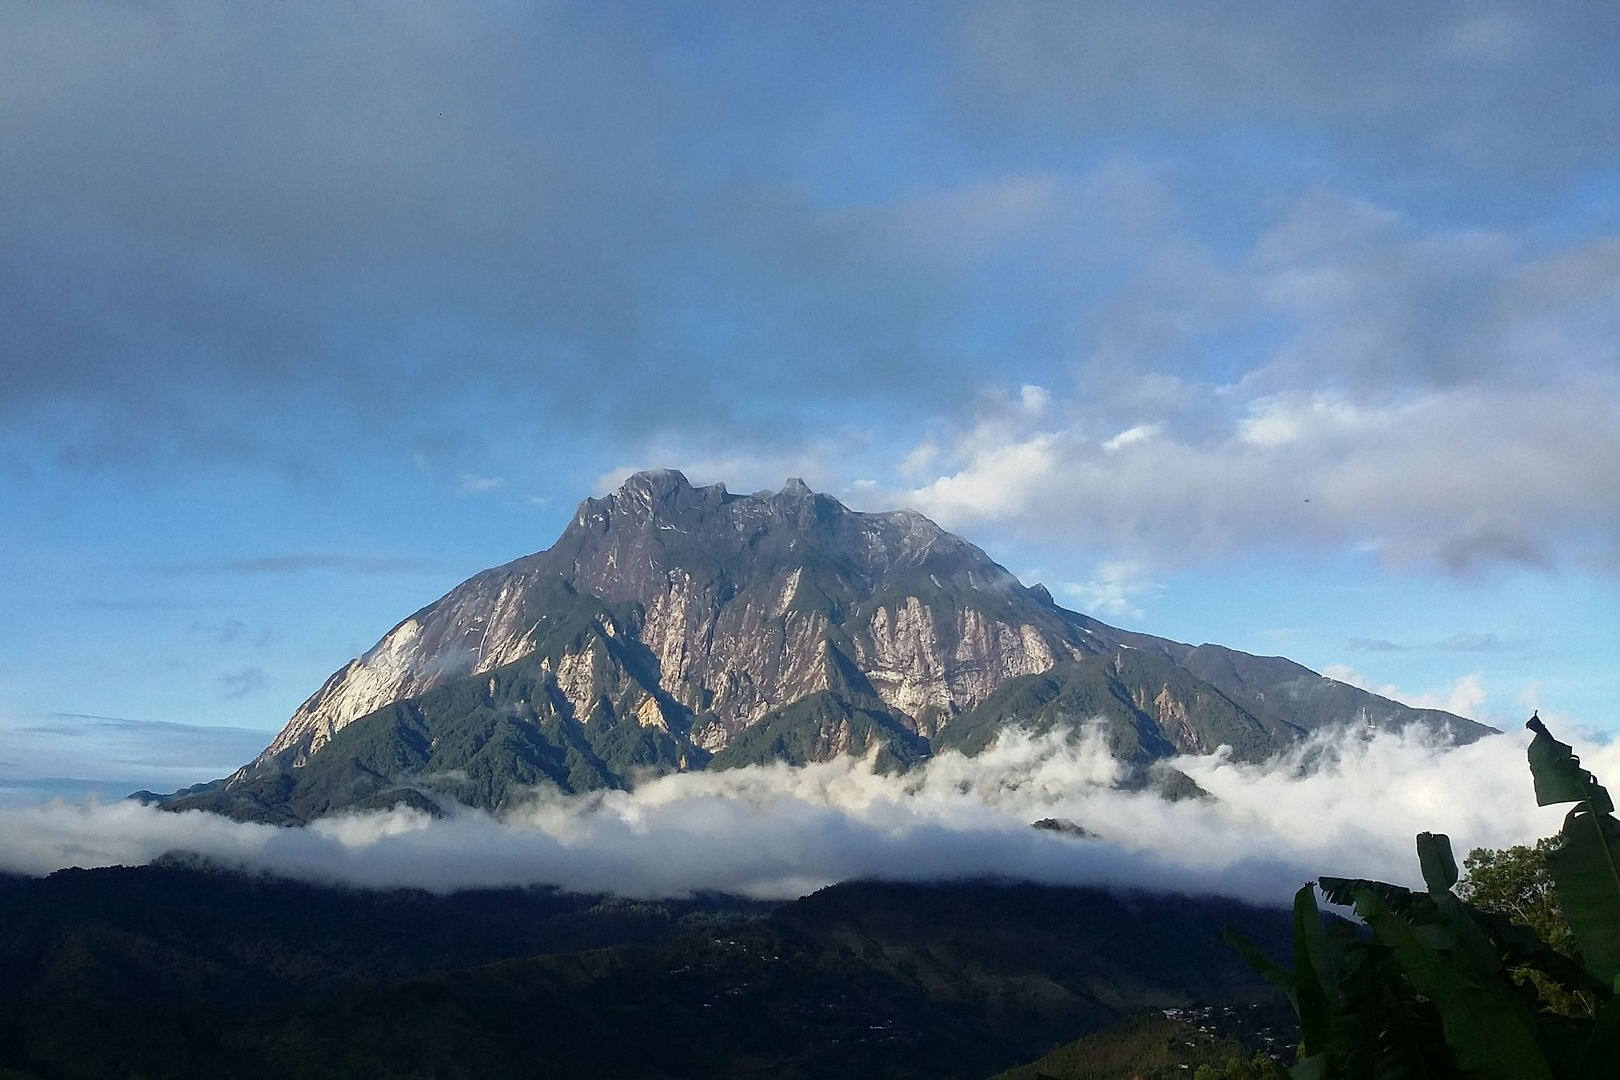
Get your tripod, camera, and lens for your next trekking expedition, because there is that perfect photo awaiting you. Professional photographers swear by their cameras that the beauty of capturing a mountain lies in the grandeur of the scenery that comes naturally in photos. Make sure you use a tripod to capture that.
Ideal settings on your camera: Choose an aperture with an f-stop value of f/11 to f/16 for a larger depth of field. Use the lowest ISO setting in your camera with a shutter speed of 1/30 of a second.
Perfect time to capture a shot: The golden hour. Wait for a sunrise or a sunset to spread the soft, natural lighting in your photos. Early morning photos may cause a blue fog haze to appear in your clicks which could cause a problem in clarity. Therefore, during post-processing, apply a yellow filter on the photos to get rid of the haze.
Lens: Wide-angle with a 35mm equivalent of 28mm or wider. This ensures you will capture a lot more in the photo without missing the important parts in the background.
What to avoid: Cloudy days. However, if you are met with an array of clouds on your trek, you can use a tripod and bump up the ISO. Don’t exceed 800 on the ISO.
What to focus on: Focus on the foreground of the photos. Adjust your focus to highlight the peaks and crevices of the mountains to give it a rich, well-hued look. Ilham did just that with this shot of Mount Bromo.
2. For the Valley Rover:
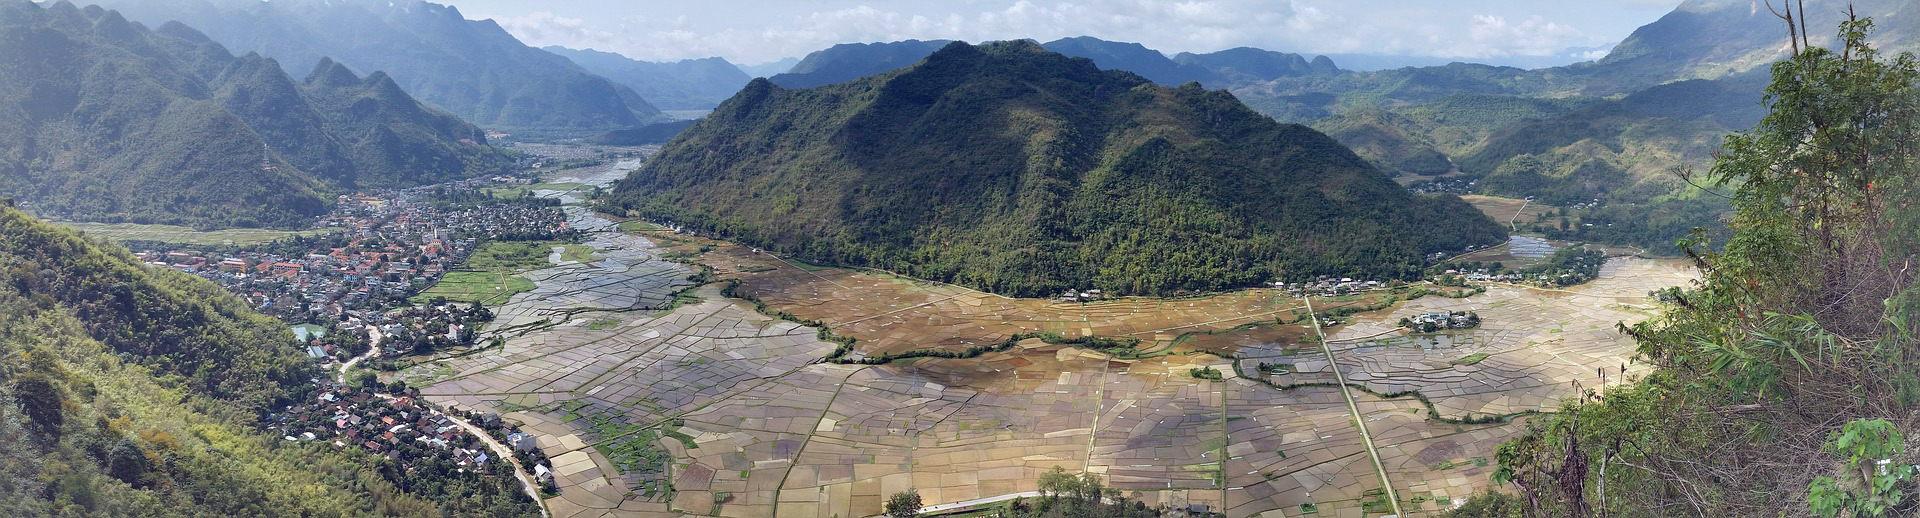
Eroded and drylands do not make for appealing photography, but to the photographer’s eye, it is a playground for creativity. Valleys are flat, wide expanse structures of nature that revel in being open for miles on end. For the perfect valley photo, you need to focus simply on just one thing: do not make it look dull!
Ideal settings on your camera: The ideal aperture for a valley photo is f/16 or f/22. Carry a 70-200 lens and zoom in, so you will not have to worry too much about the depth of field. Use a tripod and keep your ISO at 100.
Perfect time to capture a shot: Valley photos look best during the afternoon, and for the amateur photographer, it is a play of natural light that makes their photo look easier and catchier to look at, without the hassle of post-processing.
Lens: A Nikon or Canon 50mm and 18-55mm lenses for HD wide-angle shots of the gaping landscape of the valley. Valleys are habitats for flora that are easily missed, so make sure you capture that.
What to avoid: Fog, and other elements of nature that may appear to give the photo an effective look, but in hindsight, only makes the photo look too crowded and takes away the attention from the valley’s beauty.
What to focus on: Try low-angled shots from the ground to see how well they capture the depth of the valley. The arid landscape will make for a lovely photograph from that viewpoint.
Where to go: Breathtaking Mai Chau Valley in Vietnam is the perfect place if you seek some peace and quiet, while Danum Valley in Malaysia is suitable for anyone who’s looking for a wildlife adventure.
3. For the Beach Comber:
A beach is a place for solitude, romance, and family fun and adventure, all in one. Perhaps the best place for you to experiment with your camera for all kinds of shots, the beach is not just a place for the photographer to relax and unwind, but to find and capture the perfect snapshot as well.
Ideal settings on your camera: Operate on a low ISO setting (think of 100 or 200), with a narrow aperture (somewhere between f14 and f22) and moderately fast shutter speed, depending on the time of the day you are taking your shot.
Perfect time to capture a shot: Again, wait for the golden hour. Early morning shoots or sunset shoots make for a perfect photograph. Nanut Bovorn makes the most of the golden hour, creating dramatic photos with the colors and silhouettes at sunset.
Lens: A basic 15-85mm lens. For beach photography, your ideal photo should be one that focuses on a point of interest, with less exposure and depth of field. Therefore, a basic lens can do the trick.
What to avoid: Afternoon photography. The day is too bright and you will need to fiddle too much with your settings for the photo to look right.
What to focus on: Waves. They always make for dramatic photos, provided your sole goal is to capture the waters of the beach.
Where to go: Palawan beaches in the Philippines and Tioman Island in Malaysia will give you the most stunning backdrop for beach photos. Stretches of white sand, clear turquoise water, and blue sky are the perfect combination for heavenly images.

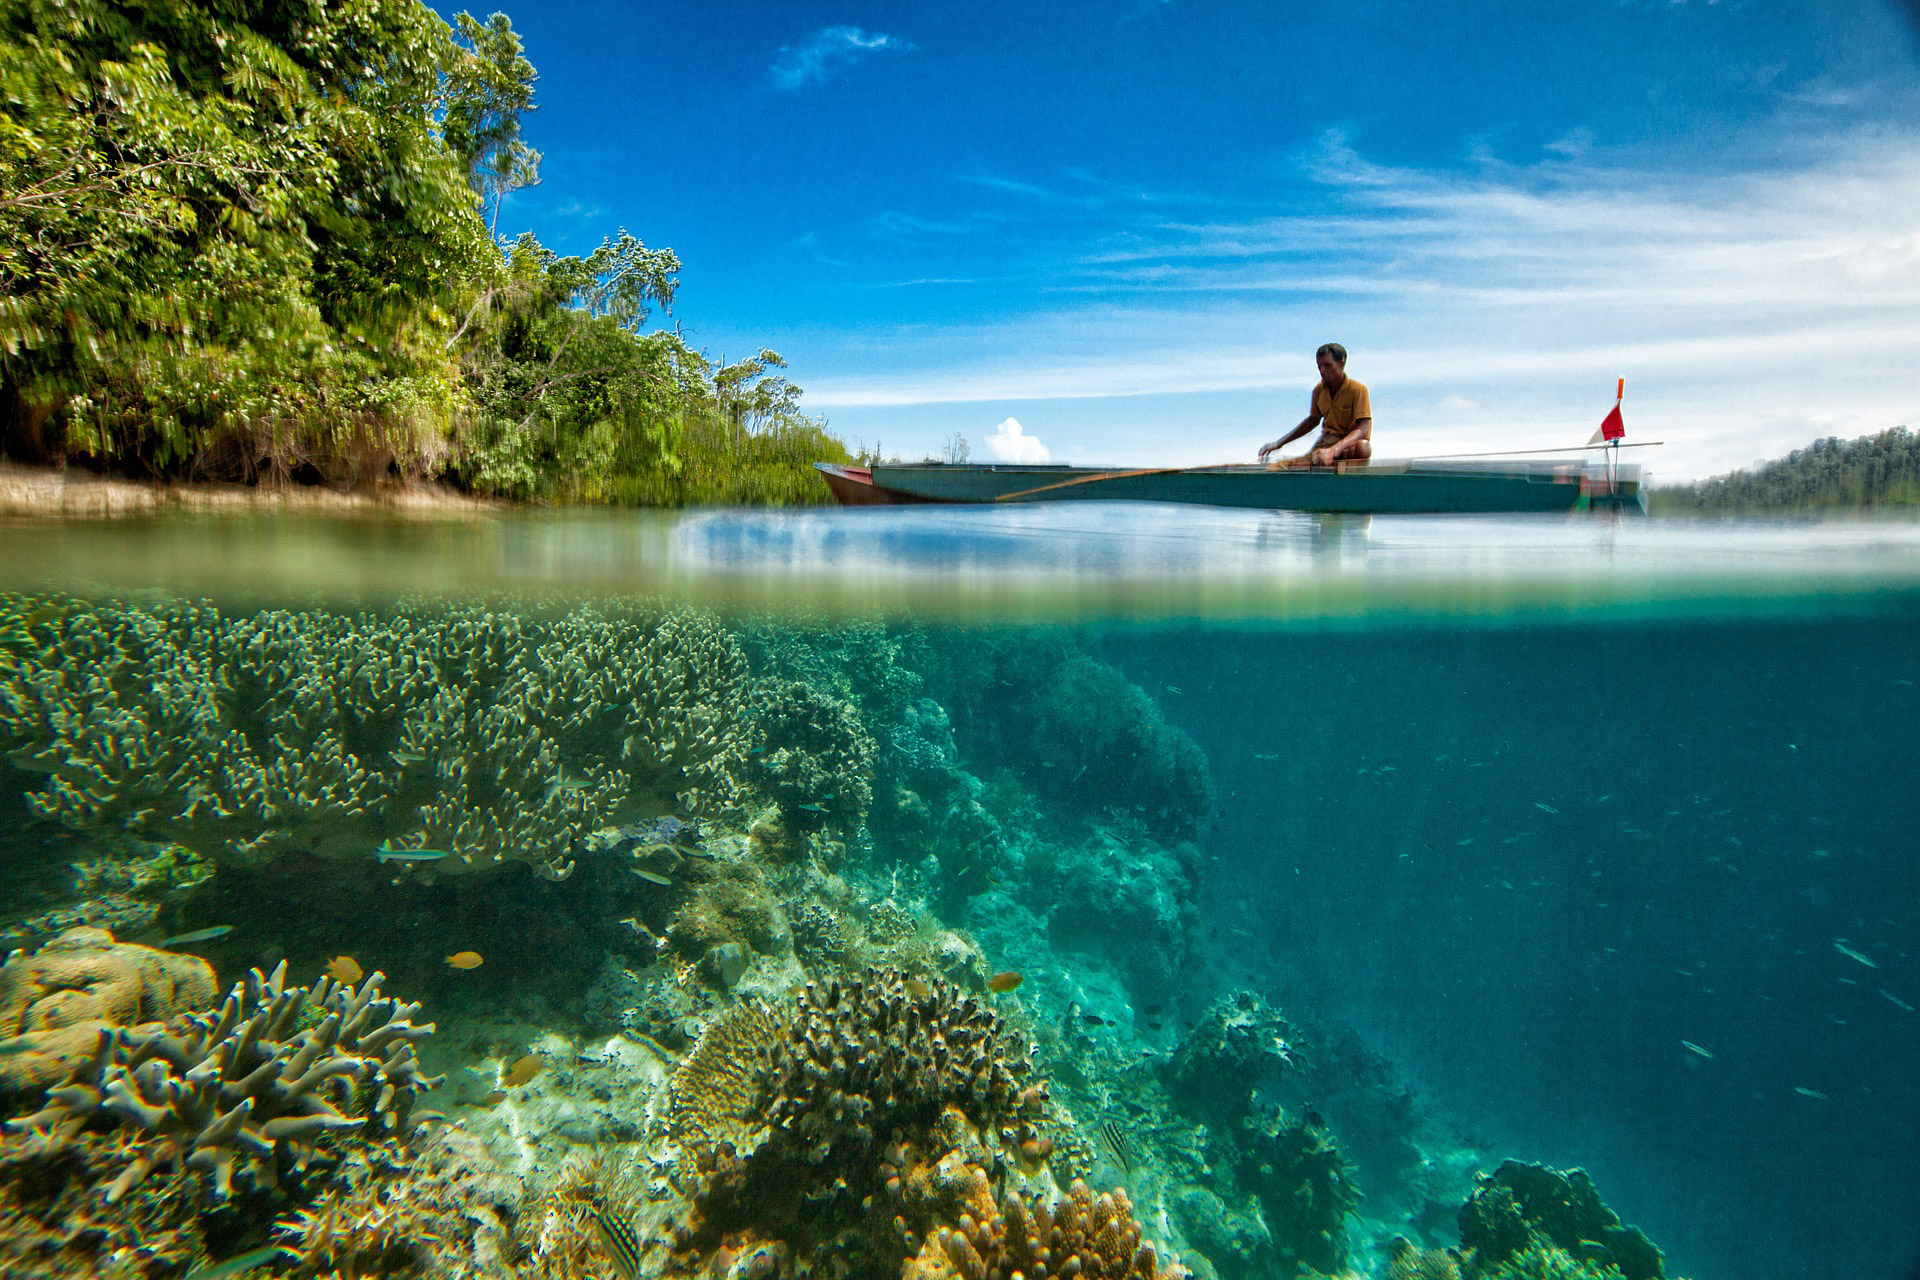
4. For the Snorkeller:
As is pretty obvious, you cannot use a normal Canon/Nikon for underwater shots. Underwater photography can be tricky and it may be cumbersome to try and capture the perfect photo while you are busy trying to make your way inside the water. However, with the right tips and techniques, you can capture some mesmerizing photos.
Ideal settings on your camera: Internal Flash – ON in your compact camera. Switch on your strobe light for the photo, using your fiber optic cable for assistance.
Perfect time to capture a shot: During the day (afternoon to be precise), you can find the perfect natural light seeping in through the water to click your photos.
Lens: A basic compact underwater camera. Professionals also use waterproof Canon cameras that have lenses that can adapt to water, but the better option for someone trying it out for the first time is the more basic model.
What to avoid: Avoid gathering specks and blots on your photo, and make use of the backscatter feature to prevent this from happening.
What to focus on: Go for a macro shot for underwater photos, to capture the aquatic life. Underwater photos may have an overbearing blue color in all your photos, as water absorbs colors such as red, orange, and yellow, so use a flash to ease the overpowering blue. For objects more than 3 feet away, if you are taking photos with the flash off (also known as using ambient light), you must do 1 of 2 things to improve the colors: use the underwater mode, or do a manual white balance in your camera.
Where to go: Similan Islands in Thailand and the eastern part in Indonesia, particularly Raja Ampat, are the perfect playgrounds for snorkeller. The colorful corals, fishes, and underwater creatures will make for incredible images.
5. For the River Adventurer:
Ever wondered how you get a perfect riverine photo without falling on your backside from the slippery rocks? Simple, wear better shoes. Almost all the time, photographers opt for a place by the river that looks off the beaten path, for a photo they know not too many people will know to click.
Ideal settings on your camera: Use a polarizer for your river or waterfall photo. It removes the glare and brings out the finer details in the picture. Use a tripod and an appropriate shutter speed depending on the type of stream, river, or waterfall you are clicking.
Perfect time to capture a shot: During an overcast day. This makes for naturally pleasing photos and you can avoid the post-processing hassle.
Lens: A Samyang 14mm f/2.8 lens with an ultra-wide-angle for those perfect dramatic shots.
What to avoid: Remove the clutter from your photos. Tree branches, leaves, and other distractions may appear in the photo of a riverine, but if you are careful enough, you can avoid the unnecessary distractions of the foliage.
What to focus on: Upstream photos divert the attention of the viewer to the central focus of the photo, the water. Try and shoot upstream to draw the viewer’s eye, as Kahfi Irwan did with this image.
Where to go: If you’re after a beautiful view, a scenic boat journey on the Kok River between Tha Ton town and Chiang Rai in northern Thailand will be the treat for you. If you love animals and would love to see orangutans in their natural habitat, have a trip along the rivers in Tanjung Putting National Park in Borneo, Indonesia.
6. For the Forest Explorer:
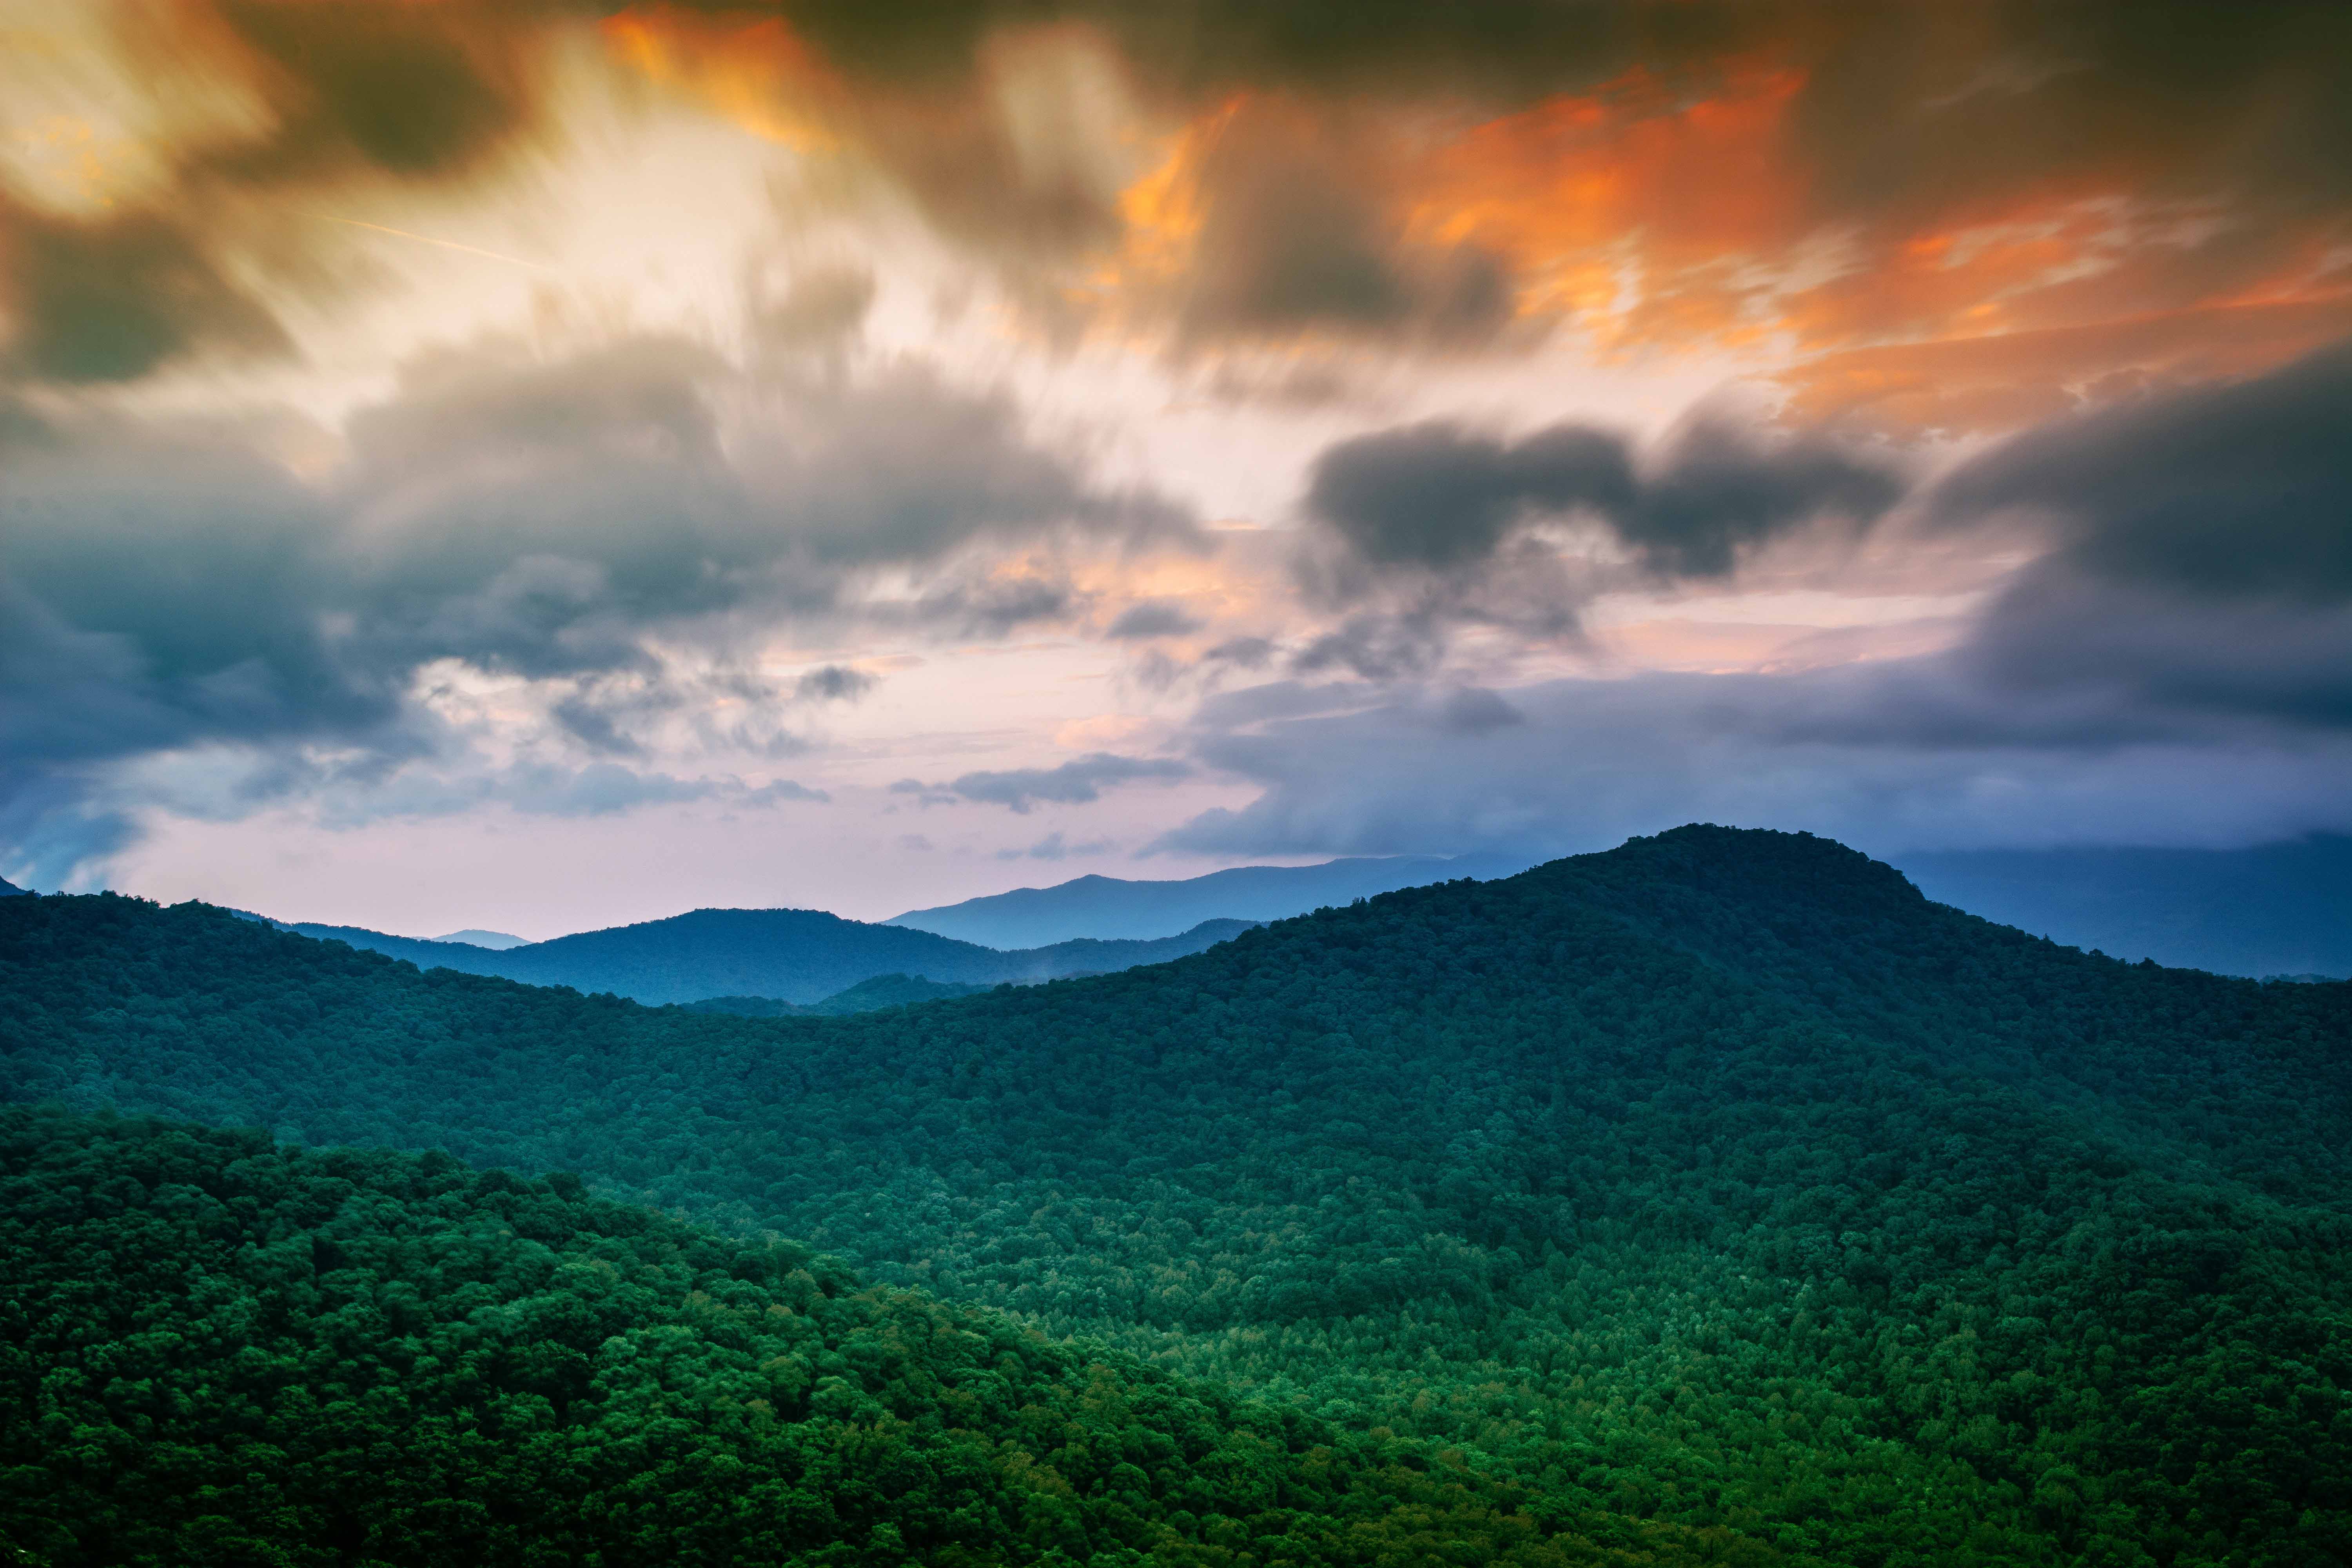
Forests are nature’s hidden baskets, one that can be difficult to traverse but also make a photographer fall in love with what they see. Therefore, capturing a forest is a difficult task, but one that photographers gleefully take on. After all, it is a magical place to be.
That being said, bringing your gear to the forests in SE Asia is quite tricky, as these tropical rainforests are notorious for their extreme humidity and torrential rain. Make sure you have everything needed to keep your gear protected (waterproof bag, water seal for your camera and lenses, etc). Consider bringing an underwater camera as well in case it’s pouring rain. Unless absolutely necessary, don’t change lenses in the forest to keep your gear safe.
Ideal settings on your camera: Contrast and color are key in a forest photo so make sure you use a polarizing filter and a low ISO for the perfect photograph.
Perfect time to capture a shot: Mornings. Light filtering through trees make for an amazing shot, so get out after sunrise and wait for the rays to peep through. Ismael did amazingly with this simple yet stunning image, capturing the sunshine filtering through the leaves.
Lens: Telephoto 70-200 lens for deep, dramatic shots of the forest.
What to avoid: Clutter. A forest has a lot of elements that may not appear appealing in a photo, like fog, branches, and leaves are strewn hither. Eliminate the clutter and focus on the flora.
What to focus on: The amazing, diverse flora and fauna. Take close up shots of the woodland creatures with a narrow depth of field to bring the focus to them. For scenic landscape shots, focus on a lot of pathways in the forest for those vertical photos and linear trees that give your photo a wallpaper appearance.
Where to go: Taman Negara National Park in Malaysia and Tra Su Nature Reserve in Vietnam will give you plenty of opportunities to capture the amazing woodland creatures.

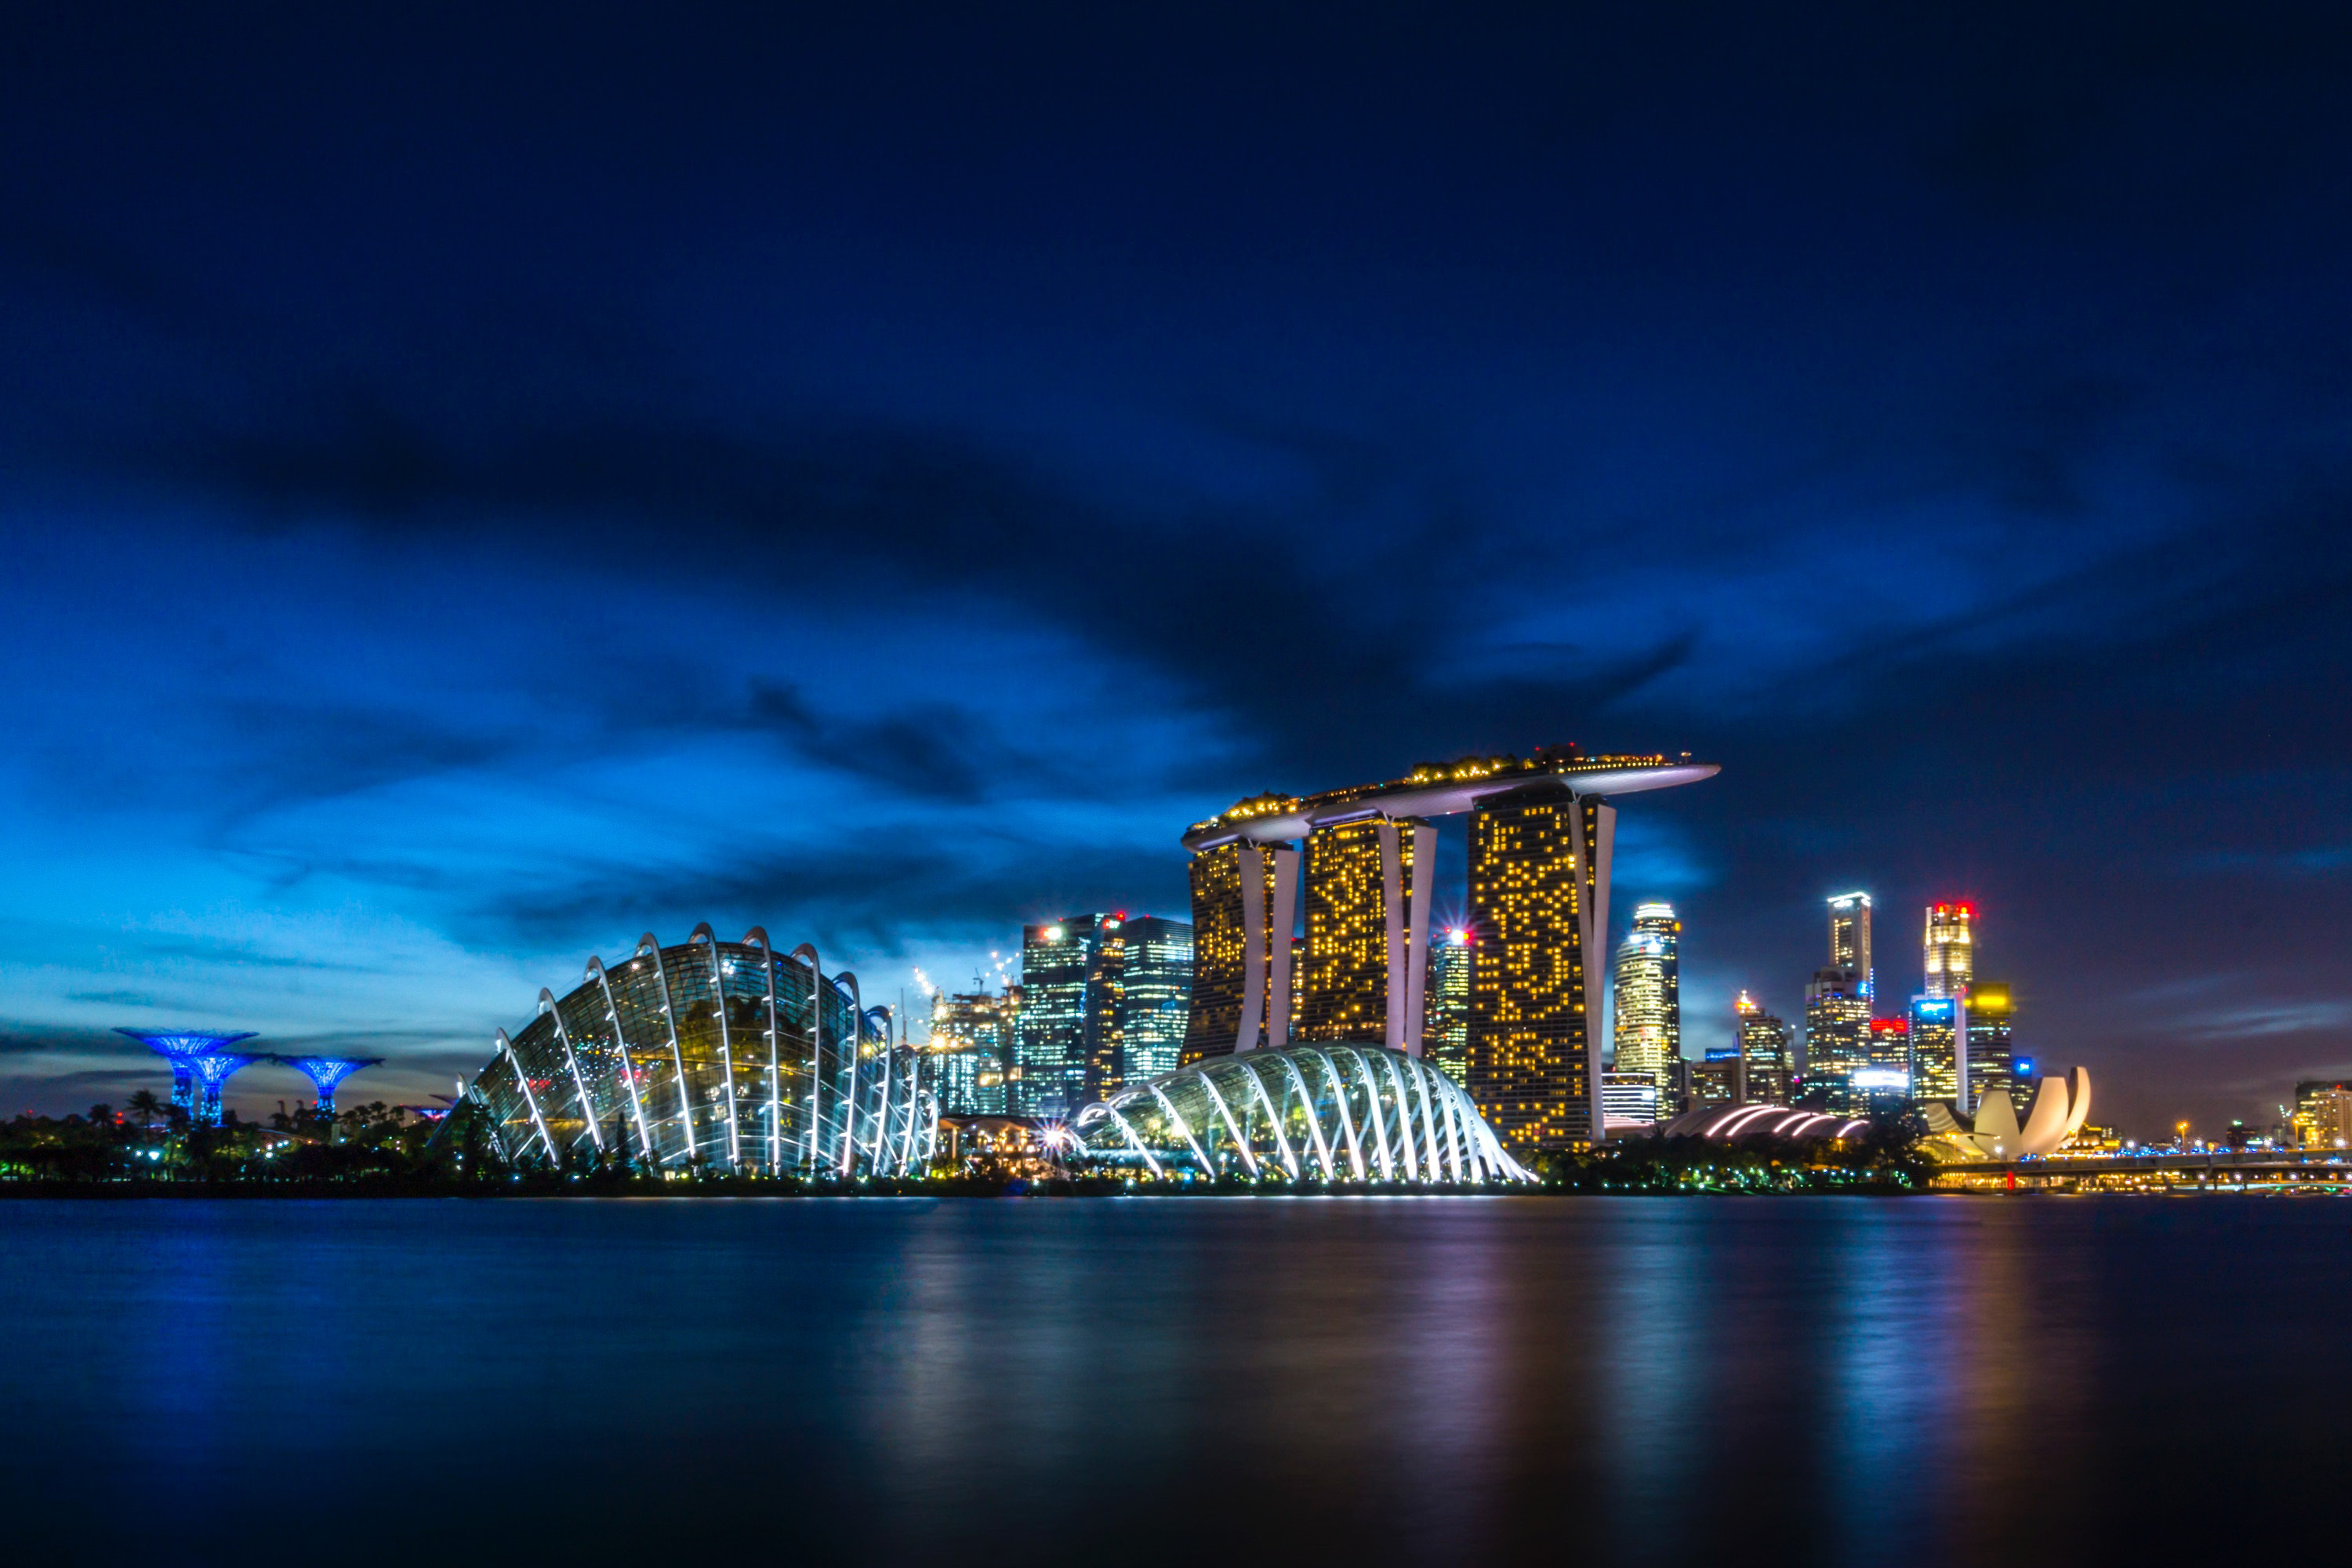
7. For the City Wanderer:
Cities are awe-inspiring for any photographer who loves light, concrete, and crowds. City photography is all about capturing the chaos in a way that makes it look like it is still moving while being in a picture. Capturing life as it seems so quickly, without clashing with anyone or anything, an order in the pandemonium. Oh, a quick tip, bad weather in a city: perfect for the photographer.
Ideal settings on your camera: Use a self-timer and a tripod. Cities are all about skylines, but stability in a photograph speaks volumes about the nature of the photo that you want to capture as well.
Perfect time to capture a shot: Right after sunset. The sky is dark, city lights illuminate and it becomes a great combination of tones, colors, and life. If you need ideas for capturing Singapore, take a look at Jethro Hoon, who has this amazing ability to capture the city from many angles, creating awe-inspiring imagery.
Lens: Wide angle lens to capture the tone of the skyline. Focal lengths between 12-35 mm are a good bet.
What to avoid: Too much color. While city photography aims to capture the noise and chaos, your photo should not seem so. It should capture a stillness to life in a city, without there being too many elements to it.
What to focus on: Look for good vantage points and leading lines to make your photo seem pleasing.
Where to go: For this, home is the place to go, as nothing beats the majestic Singapore skyline. The towering buildings and their twinkling lights will make for a stunning photograph.
Do you have favorite landscape shots? We’d love to help you print it. Go to Photojaanic‘s website and create photo books that will remind you of your amazing travel!


Be the first one to comment